CloudBeaver Integration
This integration was designed to provide users with seamless, automated access to data sources. By eliminating the need for manual database configuration and repetitive authentication steps, it significantly reduces manual overhead and streamlines the user experience. Powered by a robust web-based interface, CloudBeaver - an open-source database manager based on DBeaver - brings a comprehensive SQL editor and data browser directly into the portal. It acts as a lightweight yet powerful management console that supports a wide array of database engines, ensuring that users can explore schemas and execute complex queries without ever leaving the application.
In the Sessions tab, the Access column now features a button that launches CloudBeaver in a new browser tab, automatically establishing a connection to the data source associated with that specific row. This button is enabled only if the session is approved and the CloudBeaver process is active:

Prerequisites
- Run the Central Manager with Java 21 or higher.
- Ensure your browser's pop-up blocker is disabled for this site. The CloudBeaver interface launches in a new tab, which some browsers may block by default.
Configuration
CloudBeaver configuration is available under Admin > Portal > CloudBeaver. To access this section, the user must have access to the Portal feature and admin privileges.
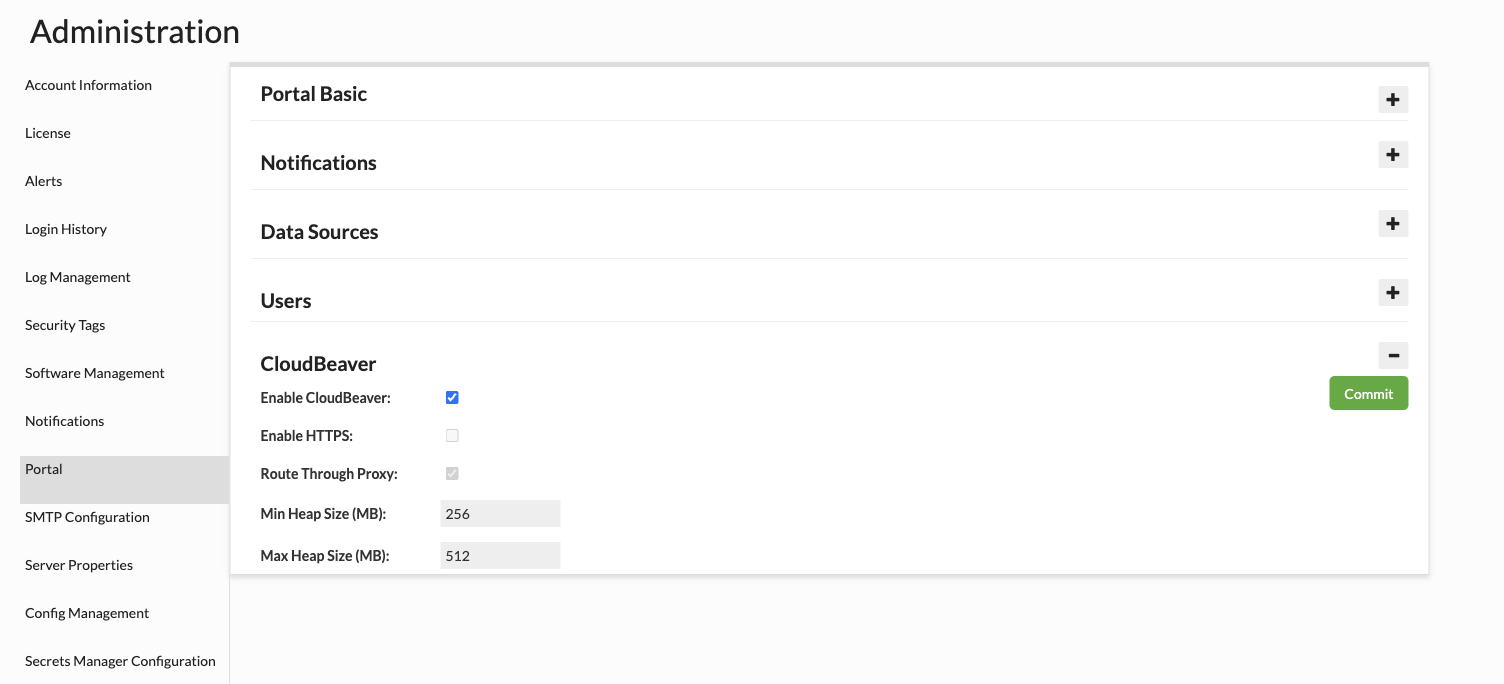
1. Enable CloudBeaver
Starts or stops the CloudBeaver service.
2. Route Through Proxy
Determines whether CloudBeaver connects to data sources directly or through a local proxy. This setting is currently mandatory.
3. Min Heap Size (MB)
Specifies the initial JVM heap size allocated to CloudBeaver (-Xms). The minimum allowed value is 64 MB.
4. Max Heap Size (MB)
Specifies the maximum JVM heap size available to CloudBeaver (-Xmx). The minimum allowed value is 256 MB, and the value must be greater than or equal to the Min Heap Size.
Accessing CloudBeaver
You can launch CloudBeaver directly from the Sessions tab.
-
Request Access: Ensure you have requested access to a data source through the portal.
-
Locate the Session: Once requested, your session will appear in the list. Initially, the DB button in the 'Access' column will be disabled.

- Launch the Session: Once your session is approved and started, the DB button will become active.
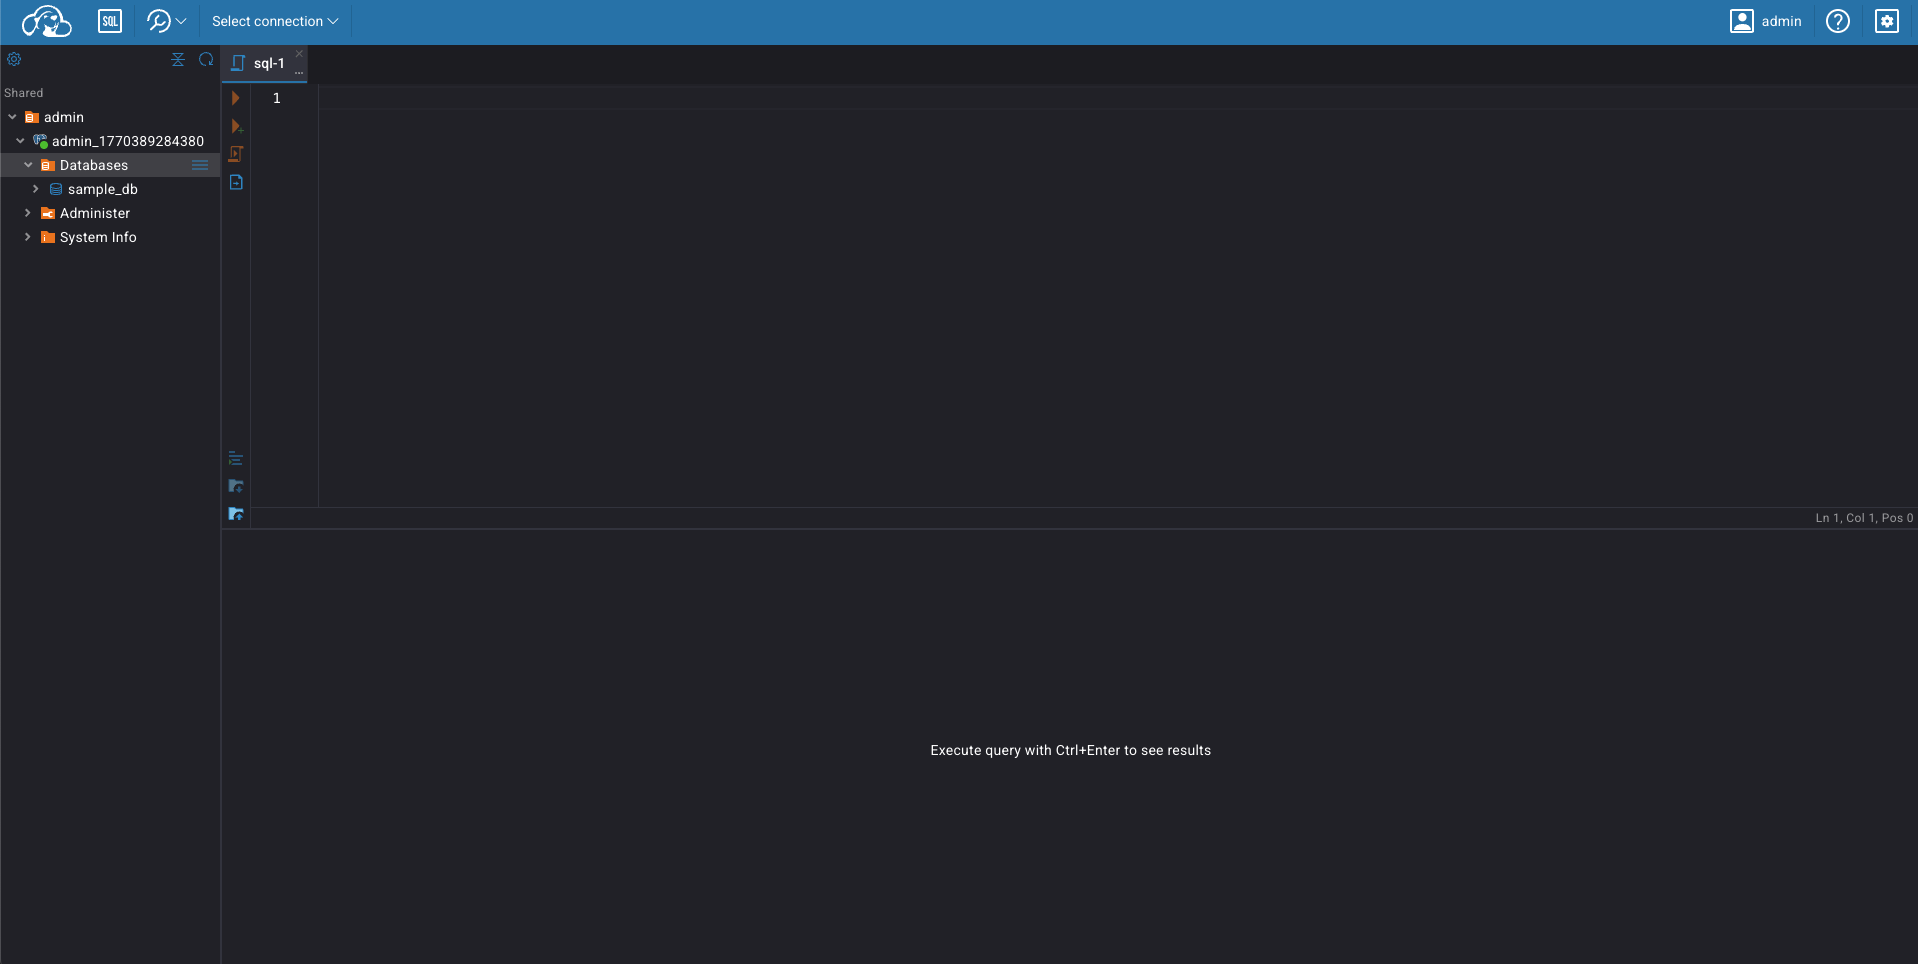
- Start Managing Data: Click the DB button to open CloudBeaver in a new tab. The session is pre-initialized, so you do not need to manually input credentials.
Security
CloudBeaver is under Heimdall's TLS. It is not exposed directly to the network. All access goes through the Central Manager, so if the portal is served over HTTPS, CloudBeaver is too, with no additional certificate or port to configure.
- Access control: Only authenticated Portal users can open CloudBeaver, and each user can access only the data sources from their own approved sessions.
- Full auditing: With Route Through Proxy enabled, all queries run through Heimdall and are subject to the same logging, auditing and rules as any other connection.
FAQ
Can CloudBeaver connect through an external Heimdall proxy?
Not yet. CloudBeaver currently connects to data sources only through a local Heimdall proxy. Support for external proxies is under development.
CloudBeaver home directory was not found at /opt/heimdall/cloudbeaver
This error can occur when updating from a Heimdall version whose update process did not yet include CloudBeaver support. As a result, the CloudBeaver home directory is not extracted during the first update.
After the initial update, the update mechanism itself is upgraded and becomes aware of CloudBeaver. Running the update a second time will correctly extract the CloudBeaver files and create the required home directory.
Resolution: Perform the update again. The CloudBeaver directory should be created and the update should complete successfully.