Google Cloud Specific Information
GCP Marketplace Install
When logged into your Google Console, navigate to the Heimdall offering and select the desired Heimdall offer (Standard or Enterprise) based on support needs.
Configure the appropriate instance settings for your environment, and review/create:
Review settings and change as needed and deploy, adjusting the ports that are open as needed. Port 22 and 8087 should be exposes, as well as the port desired for your database traffic:

Once deployed, the following (or similar) should be provided, including a link to the Admin interface via "visit the site" or the SSH console with "Access console":

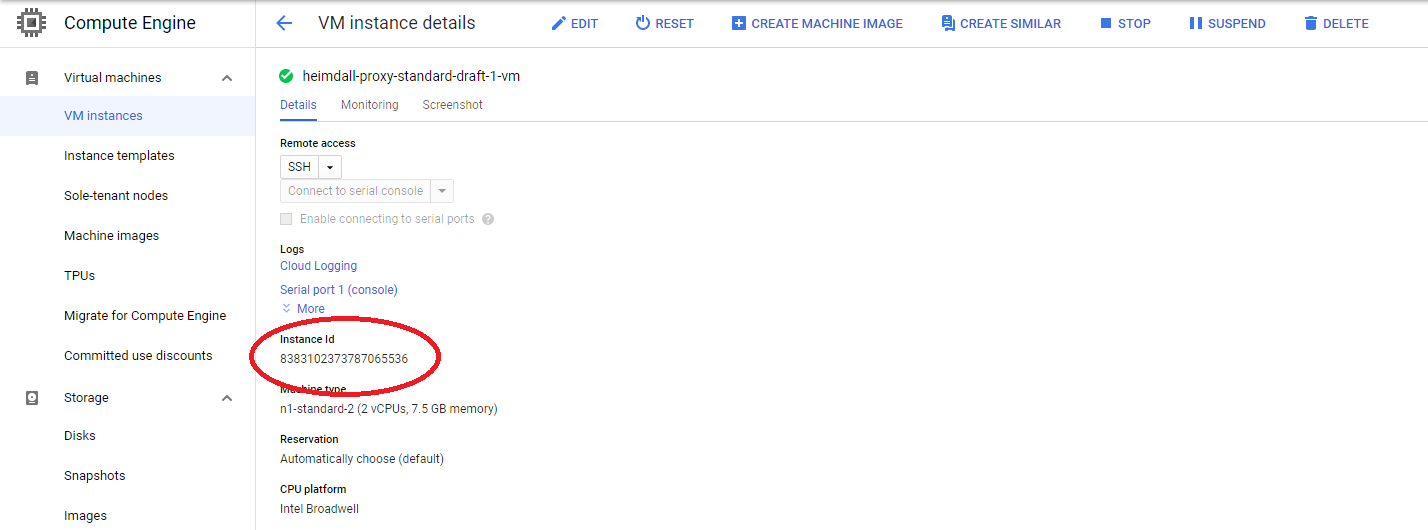
Once the instance is running, login via "admin" and the instance ID the deployment is under:
From here, the instance can be used as per the rest of the install documentation.
Databases Support
Heimdall supports all the CloudSQL database engines as well as AlloyDB.
Cloud SQL Support
Heimdall has been tested with Cloud SQL:
- MySQL 8.0, 5.7, and 5.6
- PostgreSQL 15, 14, 13, 12, 11, 10, and 9.6
- SQL Server 2022, 2019, and 2017
The following configurations have also been tested:
- Single Zone
- Multiple Zones
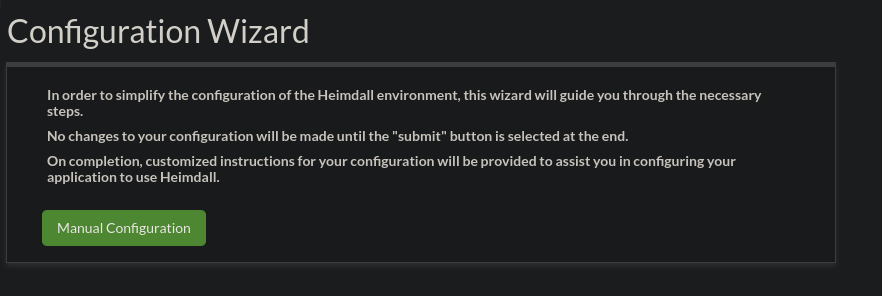
To configure a CloudSQL VDB, please use the configuration wizard.
First, select manual configuration to configure the data source:
Next, fill in the appropriate parameters, selecting the appropriate type as the DB type, and the matching database driver for the driver, and the IP address of the writer node:
Continue through the wizard. Once completed, you can navigate to the data source tab for the CloudSQL source:
AlloyDB Support
Heimdall has been tested with AlloyDB with Postgres 14 compatibility, in the following modes:
- Highly available
- Highly available w/ read pool(s)
- Basic
- Basic w/ read pools
To configure an AlloyDB VDB, please use the configuration wizard.
First, select manual configuration to configure the data source:
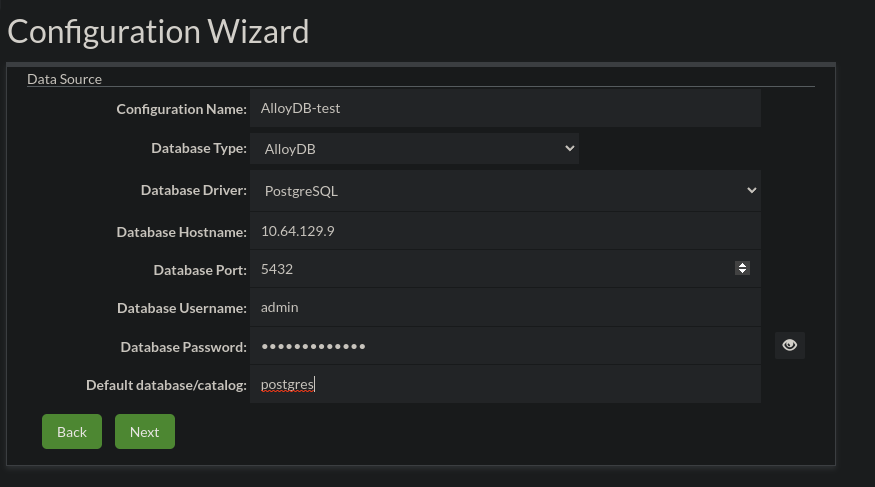
Next, fill in the appropriate parameters, selecting AlloyDB as the DB type, and the postgres driver for the driver, and the IP address of the writer node:
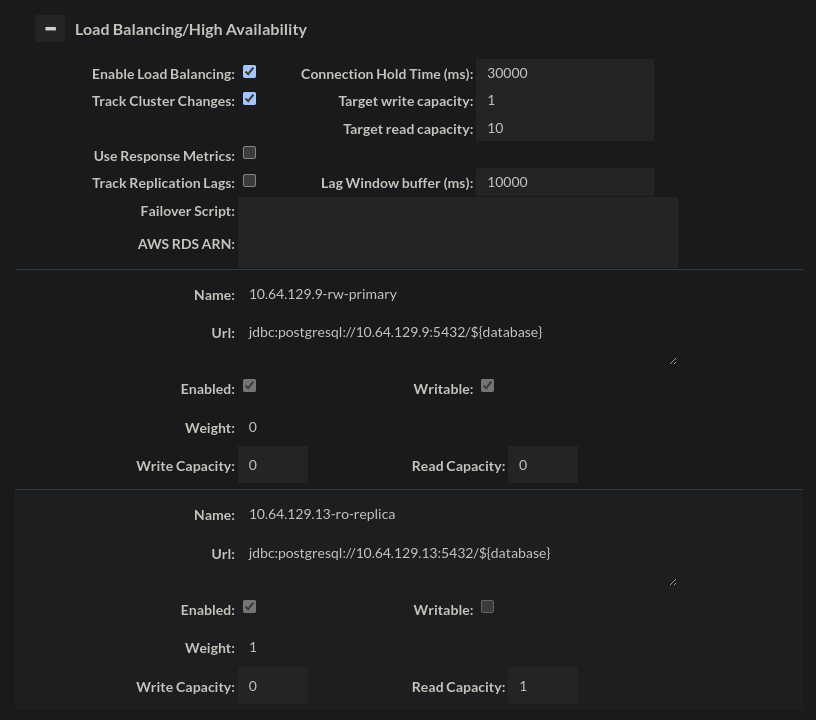
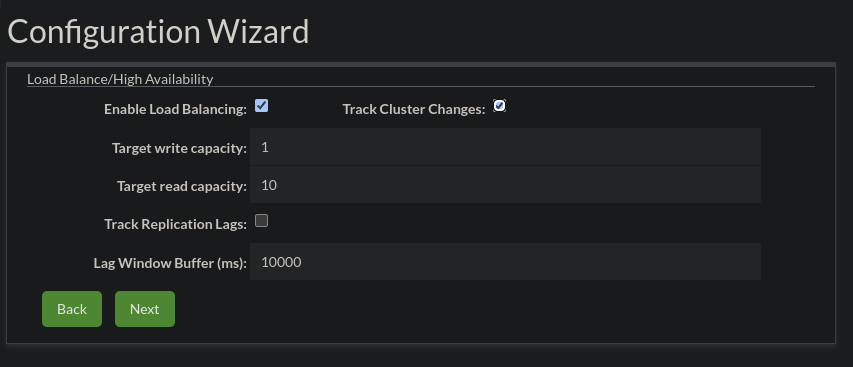
Next, enable load balancing (if desired) and enable track cluster changes, so as to auto-detect reader nodes and cluster changes:
Continue through the wizard. Once completed, you can navigate to the data source tab for the AlloyDB source, and in the LB section (if enabled), you should have all the nodes listed in your cluster: